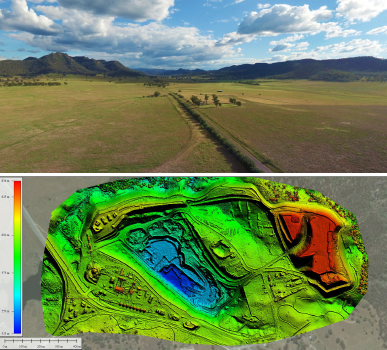
When you’re in the business of capturing precision aerial data, the starting point for any project is having a good definition of the required area.
Although we are happy to work from a sketch, image from printed map or even a verbal description, these have some degree of interpretation to them, which then introduces the possibility of a mis-interpretation in the handover. Therefore, a digital file which precisely describes the area is a much better way of passing this information on, and we can then load that directly into our mapping drones to capture that area by their automated flight paths.
There are various ways of supplying such a digital area definition, but by far the best and easiest is to create a Google Earth KML file. Unlike other data formats, you can create and view these files using freely available and easy to use tools, which is why the KML format is now the de facto standard for GIS (Geographic Information System) data exchange, and adopted by the Open Geospatial Consortium in 2008.
At its simplest, a KML file can contain ‘pins’ (i.e. locations) as well as polygon areas and also linear paths. If you want to get complex there are a lot of things you can do with a KML file, including embedding imagery and 3D models. It is also possible for us to supply back the resulting high-resolution drone mapping data in KML format for you to view in Google Earth. However, for the purpose of this article, lets keep it simple and assume we only need to use it to pass a definition of an area to be captured from a client to a drone survey company like AUAV.
There are two good ways of creating a KML, depending on whether you can install software on your computer or not. If you can, installing Google Earth Pro is the best option, as Google have now made their ‘Pro’ version freely available, and it is this version you need if you want to create and export polygon areas. However, we know that in many organisations it is not possible to install additional software, and so we will also show you how to create a KML using only the Google Maps web interface.
Option 1: Google Earth Pro
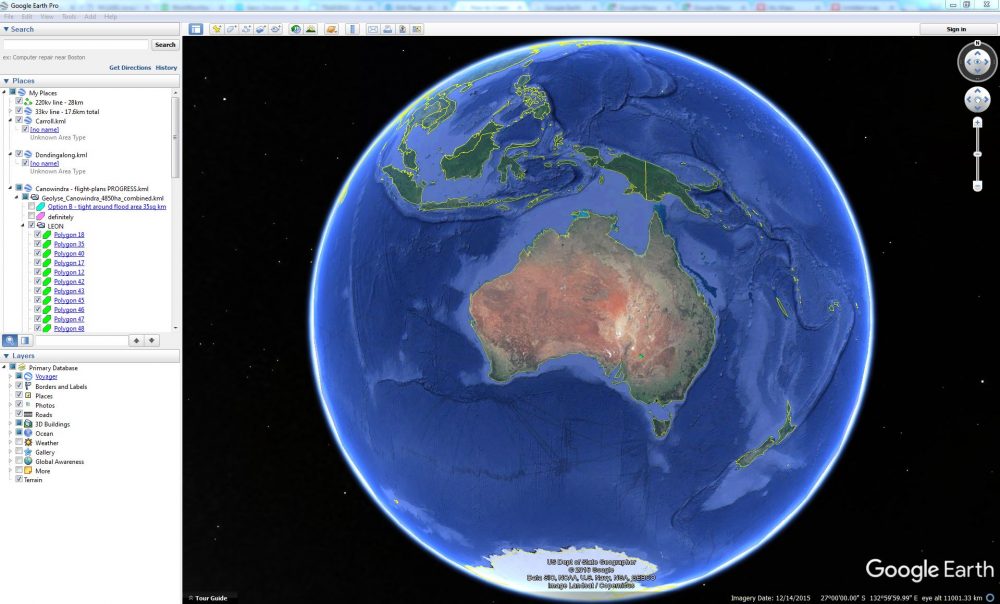
Google Earth is a freely available application published by Google, available for Windows, OSX and Linux. When it first came out there was a free version and also a paid ‘Pro’ version with more features, but a little while back they made the Pro version free too, and this is the one you want, as it has the additional functionality of defining and exporting area/polygon definitions. You can download Google Earth Pro from this link. When you install, even though it is free now it will still ask for a license key, use: GEPFREE
After installing and running the application, you will be presented with a view of the earth, from which you can drag and zoom to navigate, or use the search bar in the top-left to jump to a known location (city, address, etc):
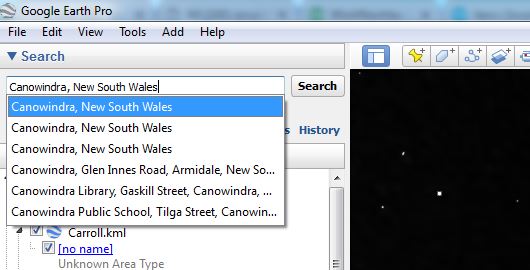
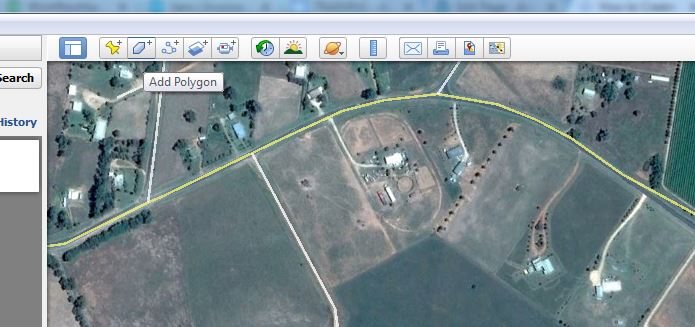
When you are looking at the area you are interested in, click the “Add Polygon” tool from the menu above the map view, then simply click points around the border of the area to draw the polygon. When you are finished, click “Ok” to close the creation dialog.
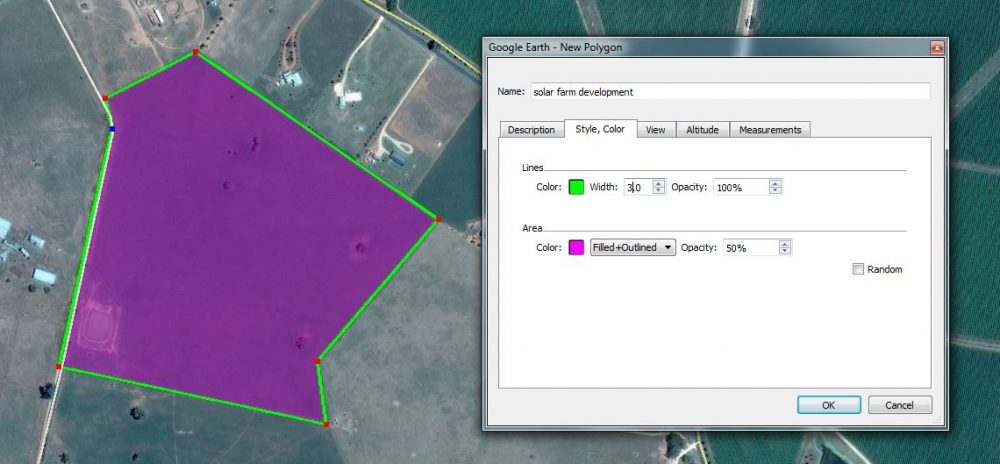 If you want to get fancy, you can also right click the polygon area, select “Properties” and edit the appearance of the polygon (e.g. fill colour and border colour, border width, transparency, etc) as well as seeing the size of the area from the “Measurements” tab.
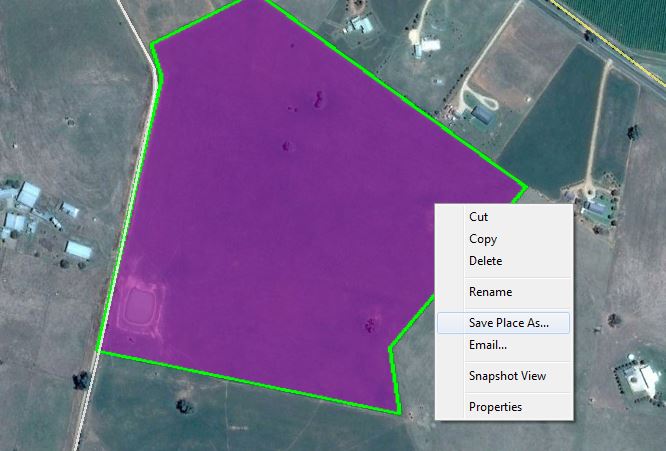
When you are happy with the result, right click the new polygon and select “Save Place As…”, to export to a file. You can save as a normal KML or a compressed KMZ file, there’s not much difference in this scenario, either one works fine.
You can them email us the file, which we load directly into our automated mapping drones, which will capture that exact area.
Google Earth is quite a powerful application for viewing and measuring GIS information. If you want to learn more, there are plenty of free tutorials and resources, including the official learning docs here.
Option 2: Google “My Maps”
If you don’t want to or are not able to install software on your computer, it is also possible to view and create KML files from a web browser using the Google My Maps interface.
One complication with this method is that you need to be logged in to a Google account to use it. Although you can view maps and navigation info at maps.google.com without logging in, to create a custom map you need a login, as the definition is stored in your account. Many people already have a google account (anyone with a gmail address has one), but if not, it is quick and easy to create one.
Logged in to your Google account, go to www.google.com/mymaps, and click “CREATE A NEW MAP”:

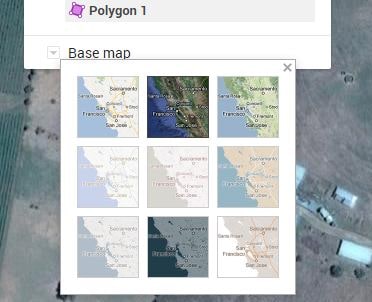
This will take you to a map view, at which point you can drag and zoom until you’re looking at the area of interest. You can also use the search bar to jump to a named location (city, address, etc). You will probably need to turn on the satellite imagery layer to better see what you’re doing, which you can do by clicking “Base map” on the left and selecting satellite:
When you are looking at the area of interest, click the “Draw Line” tool, and begin to click your way around the border to define an area. Click the first point again to close the loop and create a polygon area, at which point a dialog will pop up asking you to name it (you can usually keep the default name, unless you have multiple areas you want to be able to refer to).
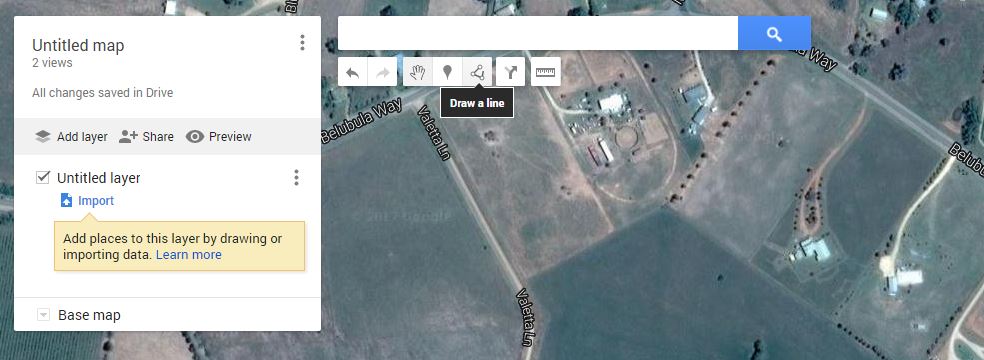
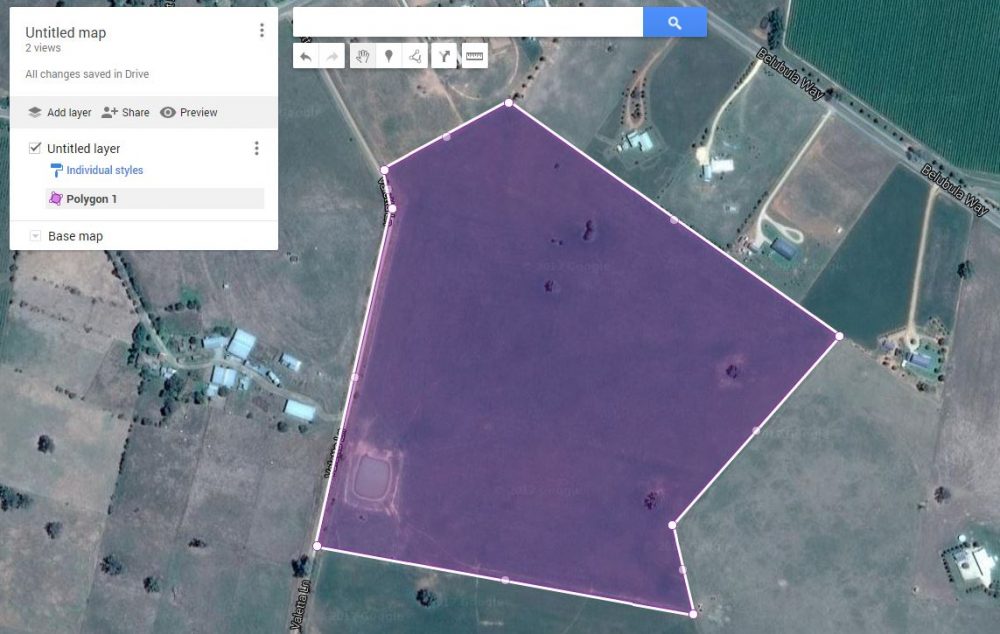
After creating your area(s), you can click on it to edit the colour, transparency, name, etc.
You can then share that map link with us (send to contact@auav.com.au, if you’re not already in contact with someone from AUAV):
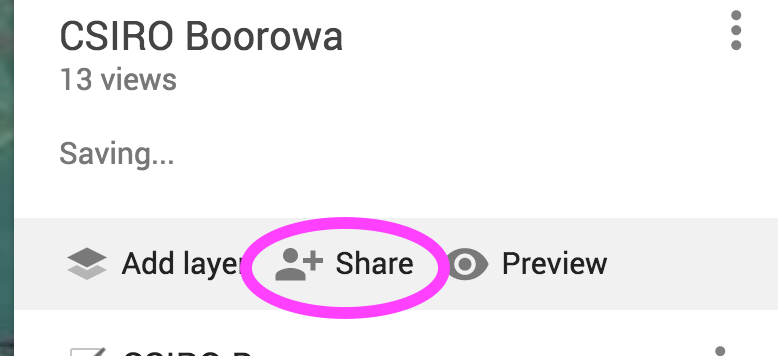
…or save and send us a KML file as shown below.
To save the KML file, click the menu at the top-left and select “Export to KML” to save to a local file on your computer:
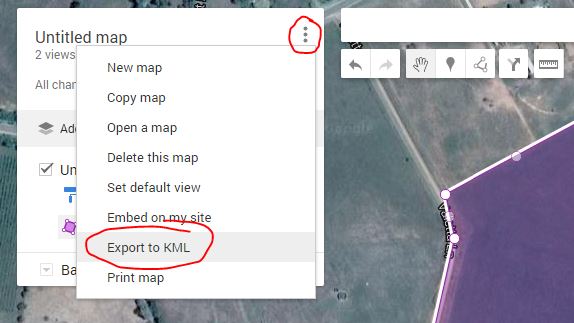
You can them email us the file, which we load directly into our automated mapping drones, which will capture that exact area.
If you want to learn more about Google My Maps, here is a link to the official documentation.
